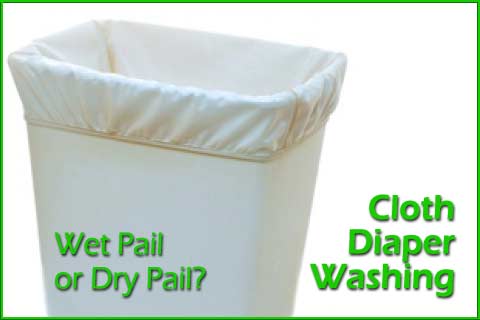
Before you wash your cloth diapers, where will you store them? You can use a wet pail, which means leaving the diapers to soak in water, or a dry pail, which means not adding water.
Which will work better for your diapers? We will walk you through the pros and cons of your diaper pail choices.
The short answer: there isn’t a lot of difference in choosing wet or dry pail. Starting with a dry pail is simple, and many families don’t find the need to try a wet pail
Wet Pail
A wet diaper pail is a hard pail filled with water. The diapers soak in the water until you wash them. You can also add stain and odor eliminators.
Pros
- Pre-soaking diapers means fewer stains
- Less need for pre-rinse once diapers are in the washing machine
Cons
- Some manufacturers recommend against using a wet pail for pocket diapers or PUL covers
- Drowning risk for young children or pets
- Heavier to carry to the washing machine (though it shouldn’t be too heavy to carry)
- Top-loading machine is essential if you plan to pour the diaper pail into the washer.
Dry Pail
A dry diaper pail can be either a hard pail with a liner or a hanging pail (just the wet bag or liner). A dry pail isn’t exactly dry, since you fill it with wet diapers, but “dry” refers to not adding more water. You can also add stain and odor eliminators to a dry pail, though be careful not to let oils or treatments sit directly on diapers unless you know that is safe (as in the case of enzyme spray).
Pros
- Lighter pail
- Easier to transfer from pail to front-loading washing machine
- No drowning hazard
Cons
- More likely to get stains as mess sits on fabric for a day or more
- Need diaper pail liner (though that’s not much of a con)
- Tougher to control odor with a hanging dry pail
I used both. I put dirty diapers in a wet pail (which I stored in the bathtub, away from curious little hands), put wet diapers in a dry pail next to the changing table, and never put covers anywhere near the pail.
Which pail type you choose depends on the needs of your family. There isn’t an obvious choice for everyone, though a lot of families choose the dry pail for simplicity. Start simple with a dry pail, and move on to wet pail if you find that you have odor that is difficult to bear or control.
Tips
- With both types of pails, your diapers are less likely to stain and your pail will be somewhat more fresh if you dump solids in the toilet before putting the diaper in the pail.
- Any plastic bucket will work for a dry pail, though you may want to get one with a lid to control odors.
- For a wet pail, either choose a locking pail or store pail out of reach of small children.
- To avoid mildew, wash more frequently. Don’t leave diapers sitting for more than two days.
- Be careful about anything you add to your diaper pail.
- Adding oils or fabric softener sheets to the pail could result in residue on any type of diaper, but essential oils (like tea tree oil) can be a natural anti-bacterial if you don’t have a residue problem.
- Baking soda could break down bamboo rayon or laminate on PUL, but acts as an odor absorber for all-cotton diapers.
- Enzyme spray is generally safe as a pre-treatment unless you know that your baby is specifically sensitive to enzymes.
- Adding borax, washing soda, or detergent to your wet pail could break down elastic or PUL.
